

Needed Supplies
- Terra Cotta pot — I have used smaller ones with a 2-1/2″ diameter top opening.
- An 8″ x 8″ template to cut out fabric
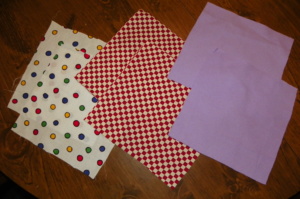
- Cotton fabric
- Cotton fluff stuffing
- Rubber band
- Ribbon (embellishments of your choice)
- Scissors
- Glue gun
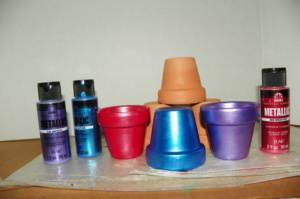
You can leave the pot without paint, as terra cotta is a very earthy tone with 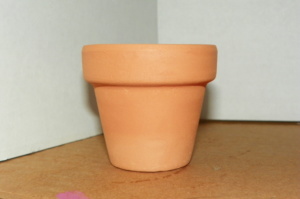 wonderful texture. I opted to paint my pots, as we all know, I adore lots of colors. I used Folk Arts Metallic paint red, blue, and purple. If you choose to paint the pot, you will want to allow it to thoroughly dry before handling it. Metallic paints worked fantastically well on the
 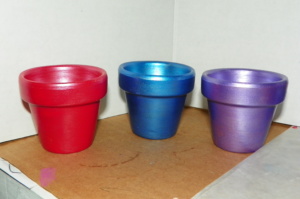 terra cotta pots. One coat coverage and it was beautifully smooth and shiny.
While waiting for the paint to dry, prepare an 8 inch by 8 inch square template. From this template, cut a piece of fabric 8 inch by 8 inch. This will be the stuffed with cotton fluff.
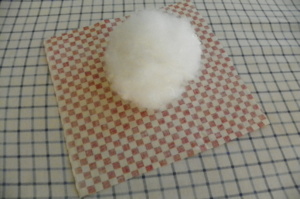
Press the fabric so it will be smooth and uncreased. Lay the fabric face down and put a good size ball of fluff on top. Make the ball round and compacted. This will make it easier when you gather all four sides together and apply the rubber band. Place the rubber band tightly so as the ends do not slip out. You will want the edges to be as smooth as possible when set inside the pot. Work a bit forming the into a ball shape.
 Once you have the puff ball made, get the glue gun heated up. Along the inside of the rim on the pot, apply a thin line of hot glue. Then push the fabric ball into the top. Allow enough puff to extend above the rim of the pot for pushing in the sewing pins.
You may then trim the outside top edge of the pot with a piece of ribbon, buttons, glitter, beads, or whatever pleases your fancy. Apply a very thin line of glue around the top of the pot to apply the ribbon. If the line is too big the ribbon will not lay flat against the pot and ooze through the ribbon surface. Add a button or a bow to cover up the seam between the edges. I chose to paint on dots for the red pot. I thought the round and square together looked cool. Be as creative as you like.
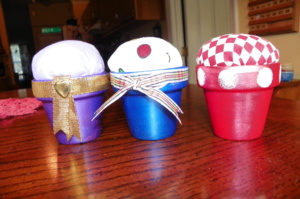
There you have three finished pincushions. Use a prizes at a bridal shower, baby shower, birthday, beginner sewers, advanced sewers. Theme your pots to the shower or person they will be going to. Personalizing items makes it extra special. Have a great time creating!
“In every work of genius we recognize our own rejected thoughts: they come back to us with a certain alienated majesty.”
― Ralph Waldo Emerson, Self-Reliance
If you don’t create it, someone else will hatch the idea and create it. They will get the praise for your uncreated thoughts.